Old Fashioned Pear Preserves Recipe offers a delightful way to savor the taste of ripe pears, perfect for adding a touch of homemade goodness to your breakfast table or gifting to friends and family; at mens-fashion.net, we celebrate timeless traditions and the simple pleasures in life, just like a well-tailored suit or a classic pair of shoes that never go out of style. From selecting the finest pears to mastering the art of slow simmering, we’ll explore the secrets to creating the most delectable pear preserves. Elevate your culinary skills and bring a taste of nostalgia to your kitchen with this guide to crafting the ultimate old-fashioned pear preserves. Get ready to impress your friends and family with the perfect blend of tradition and flavor.
1. What Makes Old Fashioned Pear Preserves So Special?
Old fashioned pear preserves stand out due to their reliance on simple, natural ingredients and traditional techniques. These preserves emphasize the pure flavor of the fruit, without the need for artificial additives or excessive processing.
Old fashioned pear preserves are not just about the taste; they’re about the experience. Making these preserves often involves a connection to family history and culinary traditions passed down through generations. The slow simmering process and the careful selection of ripe pears contribute to a depth of flavor that’s hard to replicate with modern shortcuts. According to food historians, preserving fruit this way was a staple of home economics, allowing families to enjoy the bounty of their orchards year-round.
1.1 What Are The Key Characteristics of Traditional Pear Preserves?
Traditional pear preserves typically feature:
- Simplicity: A short list of ingredients, often just pears, sugar, and lemon juice.
- Texture: Tender slices of pear suspended in a thick, glossy syrup.
- Flavor: A balance of sweetness and tartness, with the natural flavor of the pears shining through.
- No Pectin: Reliance on the natural pectin in the pears and the slow cooking process for thickening.
- Small Batch: Often made in small quantities to ensure quality and attention to detail.
1.2 What Role Did Pear Preserves Play In Culinary History?
Pear preserves were a crucial part of food preservation, especially in regions where pears grew abundantly. Before refrigeration, preserving fruit was essential for extending its shelf life and providing sustenance during the winter months. These preserves were not only a practical solution but also a source of comfort and flavor, adding a touch of sweetness to otherwise plain meals.
According to culinary historians, pear preserves were often a symbol of hospitality and abundance. They were given as gifts, served during special occasions, and cherished as a homemade delicacy. The knowledge of how to make these preserves was passed down through families, creating a sense of continuity and connection to the past.
2. What Are The Essential Ingredients For Old Fashioned Pear Preserves?
The essential ingredients for old fashioned pear preserves include high-quality pears, sugar, lemon juice, and optionally, spices.
The key to exceptional pear preserves lies in the quality of the pears. Look for firm, slightly underripe pears that will hold their shape during cooking. Sugar is essential for sweetness and preservation, while lemon juice adds acidity to balance the flavors and help with the setting process. Spices like cinnamon, cloves, or vanilla can add complexity and warmth to the preserves. The choice of spices depends on personal preference, but a light touch is often best to allow the natural pear flavor to shine.
2.1 How Do You Choose The Right Type Of Pears?
Choosing the right pears is crucial for making the best old fashioned preserves. Here are some tips:
| Pear Type | Characteristics | Best Use |
|---|---|---|
| Bartlett | Sweet, juicy, and aromatic; softens quickly when ripe | Good flavor but can become mushy; requires careful monitoring |
| Anjou | Firm, slightly grainy texture; holds its shape well during cooking | Excellent for preserves, maintaining texture and shape |
| Bosc | Crisp, dense flesh; subtle sweetness and spicy notes | Adds complexity; holds up well but may require longer cooking |
| Kieffer | Firm, slightly tart; good for preserving due to its high pectin content | Ideal for preserves, providing structure and a tangy flavor |


2.2 Can You Substitute Sugar In This Recipe?
While sugar is a traditional ingredient, some substitutions are possible:
- Honey: Adds a unique flavor and natural sweetness. Use a mild-flavored honey to avoid overpowering the pear flavor. Adjust the liquid content as honey is often more liquid than granulated sugar.
- Maple Syrup: Provides a rich, caramel-like flavor. Use pure maple syrup for the best taste. Similar to honey, adjust the liquid content accordingly.
- Stevia or Erythritol: Low-calorie options that can reduce the sugar content. Be aware that these may affect the texture and require adjustments to the recipe.
- Coconut Sugar: Adds a subtle caramel flavor and is less processed than white sugar. It may darken the preserves slightly.
When substituting sugar, it’s essential to consider how the change will affect the flavor, texture, and preservation properties of the preserves.
3. What Equipment Do You Need To Make Pear Preserves?
To make pear preserves, you’ll need a large, heavy-bottomed pot, canning jars, lids and rings, a jar lifter, a wide-mouth funnel, and a water bath canner.
The right equipment can make the preserving process smoother and safer. A heavy-bottomed pot is essential for even heat distribution and preventing scorching. Canning jars, lids, and rings must be in good condition to ensure a proper seal. A jar lifter is crucial for safely handling hot jars, while a wide-mouth funnel helps to fill jars without spills. A water bath canner is necessary for processing the filled jars, ensuring long-term preservation.
3.1 What Are The Best Types Of Canning Jars To Use?
The best types of canning jars to use are Mason jars or Ball jars, which are specifically designed for home canning.
| Jar Type | Size Options | Best Use |
|---|---|---|
| Mason Jars | Available in various sizes (4 oz to 1 gallon) | Ideal for preserving fruits, vegetables, jams, and jellies |
| Ball Jars | Similar to Mason jars in sizes and applications | Suitable for a wide range of canning projects |
| Wide-Mouth | Easier to fill with larger pieces of fruit | Great for chunky preserves or when using larger pear slices |
| Regular-Mouth | Versatile and suitable for most preserving needs | A good all-purpose choice for pear preserves and other canned goods |
3.2 Why Is A Heavy-Bottomed Pot Important?
A heavy-bottomed pot is important because it provides even heat distribution, preventing hot spots that can cause scorching and ensuring consistent cooking.
Using a heavy-bottomed pot is a simple yet effective way to improve the quality of your preserves. The even heat distribution helps to prevent the sugar from burning and sticking to the bottom of the pot, which can ruin the flavor and texture of the preserves. The consistent temperature also allows the pears to cook evenly, resulting in a more uniform and appealing final product.
4. How Do You Prepare Pears For Making Preserves?
To prepare pears for making preserves, wash, peel, core, and slice them into uniform pieces. Soaking the sliced pears in lemon water can prevent browning.
Preparing pears properly is essential for achieving the desired texture and appearance in the final preserves. Washing the pears removes any dirt or debris, while peeling ensures a smooth texture. Coring removes the tough center, and slicing the pears into uniform pieces ensures even cooking. Soaking the sliced pears in lemon water helps to prevent oxidation, which can cause browning and affect the color of the preserves.
4.1 What Is The Best Way To Peel Pears?
The best way to peel pears is using a vegetable peeler, starting from the top and working your way down, ensuring you remove all the skin.
Using a vegetable peeler is an efficient and safe way to peel pears. Start by securing the pear in one hand and holding the peeler in the other. Apply gentle pressure and move the peeler from the top of the pear down to the bottom, removing the skin in long, smooth strokes. Rotate the pear as you go, ensuring you remove all the skin. For any remaining bits of skin, use a paring knife to carefully remove them.
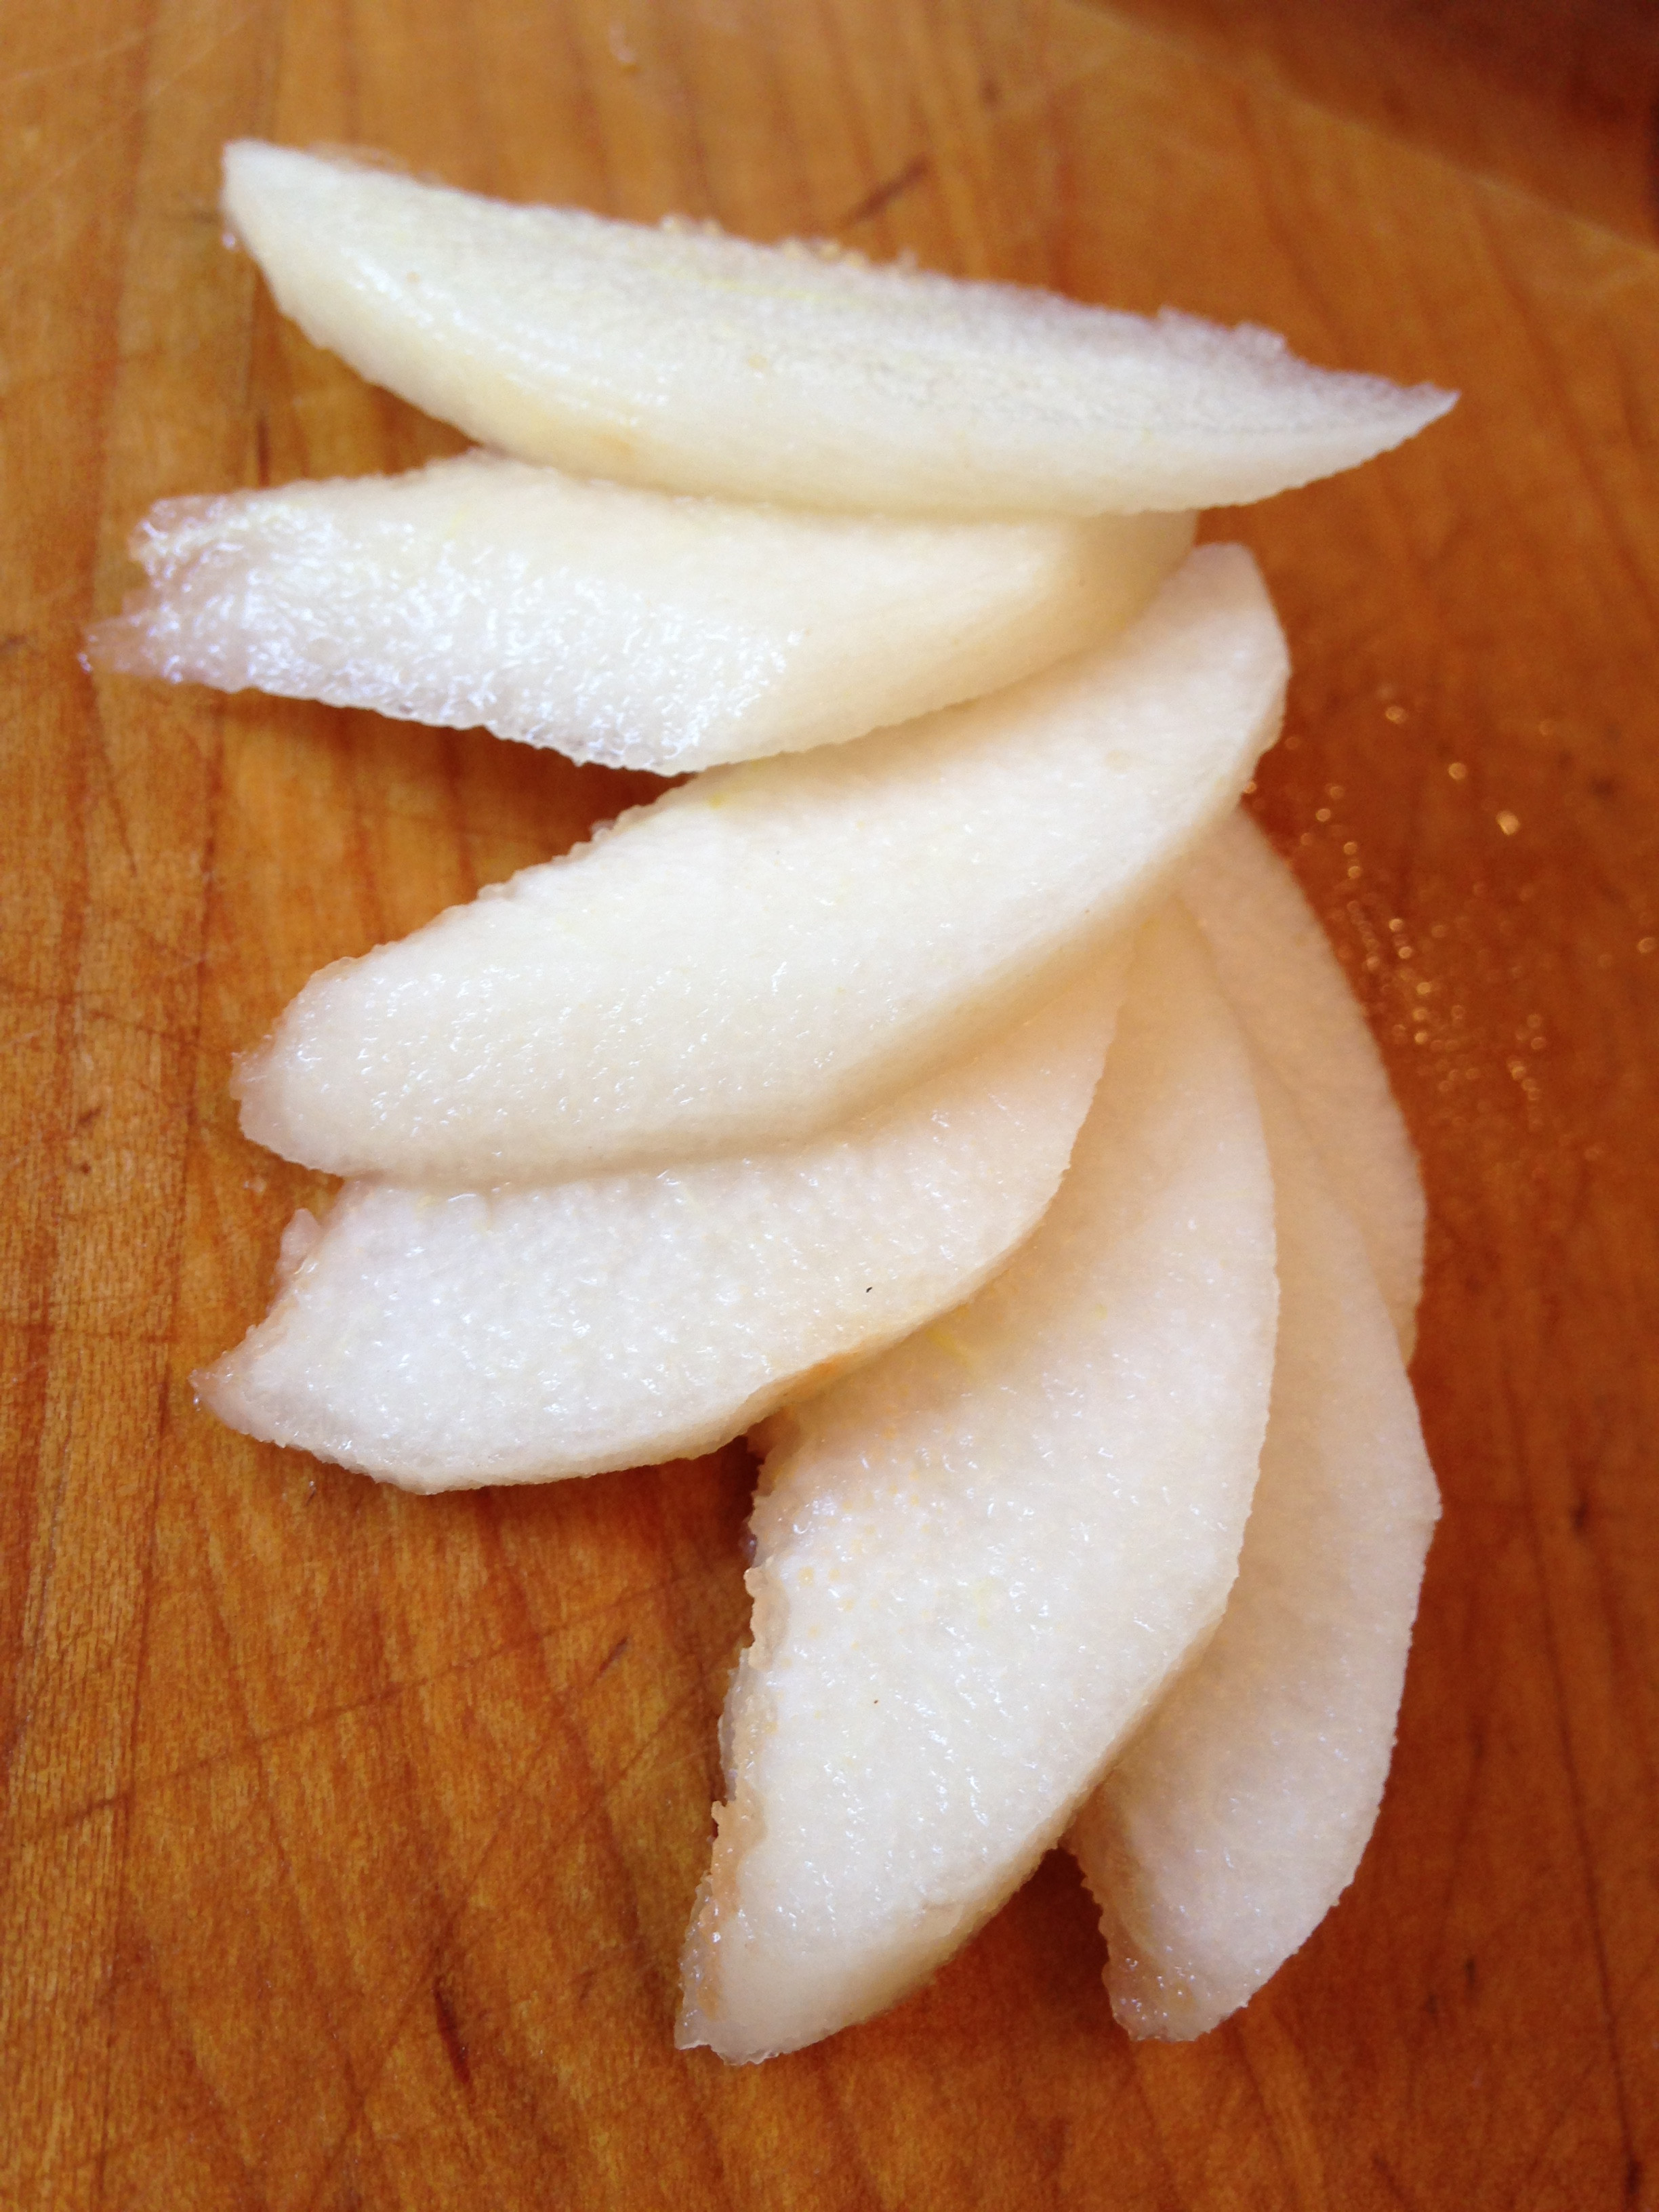
4.2 How Thick Should Pear Slices Be For Preserves?
Pear slices for preserves should be about 1/4 inch thick. This thickness allows them to cook evenly and maintain their shape without becoming mushy.
Slicing the pears to the right thickness is crucial for achieving the perfect texture in your preserves. If the slices are too thin, they may disintegrate during cooking, resulting in a mushy preserve. If they are too thick, they may not cook through evenly, leaving you with tough, undercooked pieces. A 1/4 inch slice is the ideal balance, allowing the pears to soften and absorb the syrup while still retaining their shape and texture.
5. What Is The Old Fashioned Pear Preserves Recipe?
An old fashioned pear preserves recipe typically involves simmering sliced pears with sugar and lemon juice until the pears are translucent and the syrup has thickened.
This traditional method relies on the natural pectin in the pears to create a thick, glossy syrup. The slow cooking process allows the flavors to meld and deepen, resulting in a preserve that is both sweet and subtly tart. The addition of lemon juice not only balances the flavors but also helps to preserve the color and texture of the pears.
5.1 Can You Provide A Basic Old Fashioned Pear Preserves Recipe?
Here’s a basic old fashioned pear preserves recipe:
Ingredients:
- 4 pounds firm pears, peeled, cored, and sliced
- 4 cups granulated sugar
- 1/2 cup lemon juice
- Optional: 1 teaspoon cinnamon or vanilla extract
Instructions:
- Combine pears, sugar, and lemon juice in a large, heavy-bottomed pot.
- Stir well and let the mixture sit for 1-2 hours to macerate.
- Bring the mixture to a simmer over medium heat, stirring occasionally.
- Reduce heat to low and continue to simmer for 1-2 hours, or until the pears are translucent and the syrup has thickened.
- If using, stir in cinnamon or vanilla extract during the last 15 minutes of cooking.
- Ladle the hot preserves into sterilized canning jars, leaving 1/4 inch headspace.
- Process in a water bath canner for 10 minutes.
- Let the jars cool completely and check for proper sealing.
5.2 Are There Any Variations Of This Recipe?
Yes, there are many variations of this recipe. Some popular additions include:
- Spices: Cinnamon, cloves, nutmeg, ginger, or cardamom can add warmth and complexity.
- Citrus Zest: Lemon, orange, or grapefruit zest can enhance the citrus notes.
- Vanilla Bean: Adds a rich, creamy flavor. Split a vanilla bean and scrape the seeds into the mixture during cooking.
- Liquor: A splash of brandy, rum, or bourbon can add depth and warmth.
- Nuts: Toasted almonds, walnuts, or pecans can add texture and flavor.
- Herbs: Fresh rosemary or thyme can add a savory twist.
Experiment with different combinations to create your signature pear preserves.
6. What Are The Key Steps In Making Old Fashioned Pear Preserves?
The key steps in making old fashioned pear preserves include preparing the pears, macerating them with sugar, simmering the mixture until thickened, and canning the preserves for long-term storage.
Each step is crucial for achieving the desired flavor, texture, and shelf life. Proper preparation of the pears ensures even cooking and prevents browning. Macerating the pears with sugar helps to draw out their natural juices and create a flavorful syrup. Slow simmering allows the flavors to meld and the syrup to thicken. Canning ensures that the preserves are safe to store at room temperature for an extended period.
6.1 How Long Should You Macerate The Pears?
You should macerate the pears for at least 1-2 hours, or preferably overnight. Maceration helps to draw out the natural juices from the pears and allows the sugar to dissolve, creating a flavorful syrup.
Maceration is a crucial step in the preserving process. Allowing the pears to sit with the sugar and lemon juice for an extended period helps to break down the fruit’s cell structure, releasing its natural juices. This creates a more flavorful and concentrated syrup, which is essential for the final taste and texture of the preserves.
6.2 How Do You Know When The Preserves Are Done?
You know the preserves are done when the pears are translucent and the syrup has thickened enough to coat the back of a spoon.
Determining the doneness of the preserves is a critical skill that comes with practice. As the preserves cook, the pears will gradually become more translucent, indicating that they are softening and absorbing the syrup. The syrup will also thicken, changing from a watery consistency to a glossy, viscous liquid. To test the syrup, dip a spoon into the pot and lift it out. If the syrup coats the back of the spoon and slowly drips off, leaving a thin film, it is likely done.
7. How Do You Can Old Fashioned Pear Preserves?
To can old fashioned pear preserves, ladle the hot preserves into sterilized jars, leaving 1/4 inch headspace, wipe the rims, place lids and rings on the jars, and process in a water bath canner for the recommended time.
Canning is essential for preserving the pears for long-term storage. Sterilizing the jars ensures that they are free of bacteria that could spoil the preserves. Leaving the correct headspace allows for expansion during processing. Wiping the rims ensures a proper seal. Processing in a water bath canner creates a vacuum seal, which prevents spoilage and extends the shelf life of the preserves.
7.1 What Is Water Bath Canning And Why Is It Important?
Water bath canning is a method of preserving food by heating sealed jars of food in boiling water for a specific amount of time. This process kills harmful microorganisms and creates a vacuum seal, preventing spoilage.
Water bath canning is a critical step in preserving fruits and other high-acid foods. The high heat of the boiling water kills bacteria, yeasts, and molds that can cause spoilage. The vacuum seal created during the cooling process prevents new microorganisms from entering the jar, ensuring that the preserves remain safe and shelf-stable for an extended period.
7.2 How Long Should You Process Pear Preserves In A Water Bath Canner?
You should process pear preserves in a water bath canner for 10 minutes for half-pint or pint jars, adjusting for altitude.
The processing time is crucial for ensuring that the preserves are properly sterilized and sealed. Processing for too short a time may result in spoilage, while processing for too long can affect the texture and flavor of the preserves. It’s important to follow the recommended processing time and adjust for altitude, as higher altitudes require longer processing times due to the lower boiling point of water.
8. What Are Common Problems And How To Fix Them?
Common problems when making old fashioned pear preserves include preserves not setting, mold growth, and jars not sealing properly.
Addressing these issues promptly can save your batch of preserves. Preserves that don’t set may need more cooking time or added pectin. Mold growth indicates spoilage and the preserves should be discarded. Jars that don’t seal properly should be reprocessed or refrigerated and used quickly.
8.1 Why Are My Pear Preserves Not Setting?
Pear preserves may not set due to insufficient pectin, too much liquid, or not enough cooking time.
| Problem | Solution |
|---|---|
| Insufficient Pectin | Add commercial pectin or use pears with higher pectin content (e.g., Kieffer) |
| Too Much Liquid | Continue cooking to evaporate excess moisture |
| Not Enough Cooking Time | Extend cooking time until the syrup reaches the desired consistency |
| Incorrect Sugar Ratio | Ensure the correct ratio of sugar to fruit (usually 1:1 or 2:1) |
| Acidity Level Too Low | Add more lemon juice to increase acidity |
8.2 What Should You Do If A Jar Doesn’t Seal?
If a jar doesn’t seal within 24 hours, you can reprocess it with a new lid, refrigerate it and use it within a few weeks, or freeze the contents.
A proper seal is essential for the long-term preservation of your pear preserves. If a jar fails to seal, it means that the vacuum seal was not created, leaving the preserves vulnerable to spoilage. Reprocessing the jar with a new lid can sometimes fix the problem, but it’s important to ensure that the jar and lid are in good condition. Refrigerating the preserves will keep them safe for a shorter period, while freezing them will preserve them for a longer period, although it may affect the texture.
9. How Do You Store Old Fashioned Pear Preserves?
Store old fashioned pear preserves in a cool, dark place for up to one year. Once opened, refrigerate and use within a few weeks.
Proper storage is essential for maintaining the quality and safety of your preserves. A cool, dark place helps to prevent the preserves from deteriorating due to light and heat. Once opened, refrigeration is necessary to slow down spoilage and prevent the growth of harmful bacteria.
9.1 What Is The Shelf Life Of Homemade Pear Preserves?
The shelf life of homemade pear preserves is typically one year when stored properly in a cool, dark place.
The high sugar content and proper canning process help to extend the shelf life of homemade pear preserves. However, it’s important to check the seals of the jars before using them and discard any jars that show signs of spoilage, such as bulging lids, mold growth, or an off odor.
9.2 How Can You Tell If Pear Preserves Have Spoiled?
You can tell if pear preserves have spoiled by looking for signs such as bulging lids, mold growth, an off odor, or a change in color or texture.
Spoiled preserves can pose a health risk and should be discarded immediately. Bulging lids indicate that gas has been produced inside the jar, which is a sign of bacterial growth. Mold growth is another clear indication of spoilage. An off odor or a change in color or texture can also indicate that the preserves are no longer safe to eat.
10. How Can You Use Old Fashioned Pear Preserves?
Old fashioned pear preserves can be used in a variety of ways, such as spreading on toast, serving with cheese, using as a topping for desserts, or incorporating into savory dishes.
The versatility of pear preserves makes them a valuable addition to any kitchen. Their sweet and slightly tart flavor pairs well with a wide range of foods, from simple breakfast items to elegant desserts and savory dishes.
10.1 What Are Some Creative Ways To Use Pear Preserves?
Some creative ways to use pear preserves include:
- With Cheese: Pair with brie, goat cheese, or blue cheese for a delightful appetizer.
- On Sandwiches: Use as a spread on grilled cheese or ham sandwiches.
- In Yogurt or Oatmeal: Stir into yogurt or oatmeal for a touch of sweetness and flavor.
- As a Glaze: Use as a glaze for roasted meats, such as pork or chicken.
- In Baking: Incorporate into muffins, scones, or cakes for added moisture and flavor.
- With Ice Cream: Spoon over vanilla ice cream for a simple yet elegant dessert.
10.2 Can You Use Pear Preserves In Savory Dishes?
Yes, pear preserves can be used in savory dishes to add a touch of sweetness and complexity.
The sweetness of pear preserves can balance out the savory flavors in many dishes, creating a unique and delicious flavor profile. They can be used as a glaze for roasted meats, a topping for grilled vegetables, or an ingredient in sauces and marinades. The possibilities are endless, and experimenting with different combinations can lead to exciting culinary discoveries.
FAQ: Old Fashioned Pear Preserves Recipe
Q1: Can I use frozen pears for making preserves?
No, it is best to use fresh, firm pears for making preserves. Frozen pears tend to become mushy when thawed, which will affect the texture of the final product.
Q2: Do I need to add pectin to my pear preserves?
No, you don’t need to add pectin if you’re using a traditional recipe and cooking the preserves long enough to thicken naturally. Pears contain natural pectin that is released during cooking.
Q3: How do I sterilize canning jars?
To sterilize canning jars, boil them in water for 10 minutes. Alternatively, you can wash them in a dishwasher with a sterilize setting.
Q4: What is the ideal headspace when filling jars for canning?
The ideal headspace is 1/4 inch. This allows for proper expansion during processing and ensures a good seal.
Q5: Can I reuse canning lids?
No, canning lids are designed for single-use only. Once they have been used for canning, they will not create a reliable seal if reused.
Q6: How long do I need to boil the jars in a water bath canner?
Boil half-pint or pint jars for 10 minutes, adjusting for altitude.
Q7: What should I do if the syrup is too thin?
If the syrup is too thin, continue cooking the preserves for a longer time to allow more moisture to evaporate.
Q8: Why did my pear preserves turn brown?
Pear preserves can turn brown due to oxidation. To prevent this, soak the sliced pears in lemon water before cooking.
Q9: Can I add spices to my pear preserves?
Yes, you can add spices such as cinnamon, cloves, or vanilla to enhance the flavor.
Q10: How should I store my canned pear preserves?
Store your canned pear preserves in a cool, dark place for up to one year.
Discover the art of classic menswear at mens-fashion.net. From timeless suits to essential accessories, we curate the finest in men’s fashion to elevate your style. Ready to explore more tips, trends, and timeless advice? Visit mens-fashion.net today and discover the perfect blend of style, tradition, and sophistication. Whether you’re looking to refine your wardrobe or simply seeking inspiration, mens-fashion.net is your ultimate resource. Elevate your style and embrace the classic elegance of menswear with mens-fashion.net. For more information, visit our website or contact us at Address: 227 W 27th St, New York, NY 10001, United States or Phone: +1 (212) 217-5800.